Musings (on whatever I feel like, okay?) from a newly minted adult walking the fine line between vacation and unemployment.
Showing posts with label furniture. Show all posts
Thursday, July 21, 2011
Table Rehab Take 2
Here we have a $6.00 Goodwill monstrosity. It's in terrible shape and the top is completely detached from the rest of the table. Not to mention the completely dated finish. But I could tell that it had potential. It had some nice details which just needed a bit of TLC to bring out.
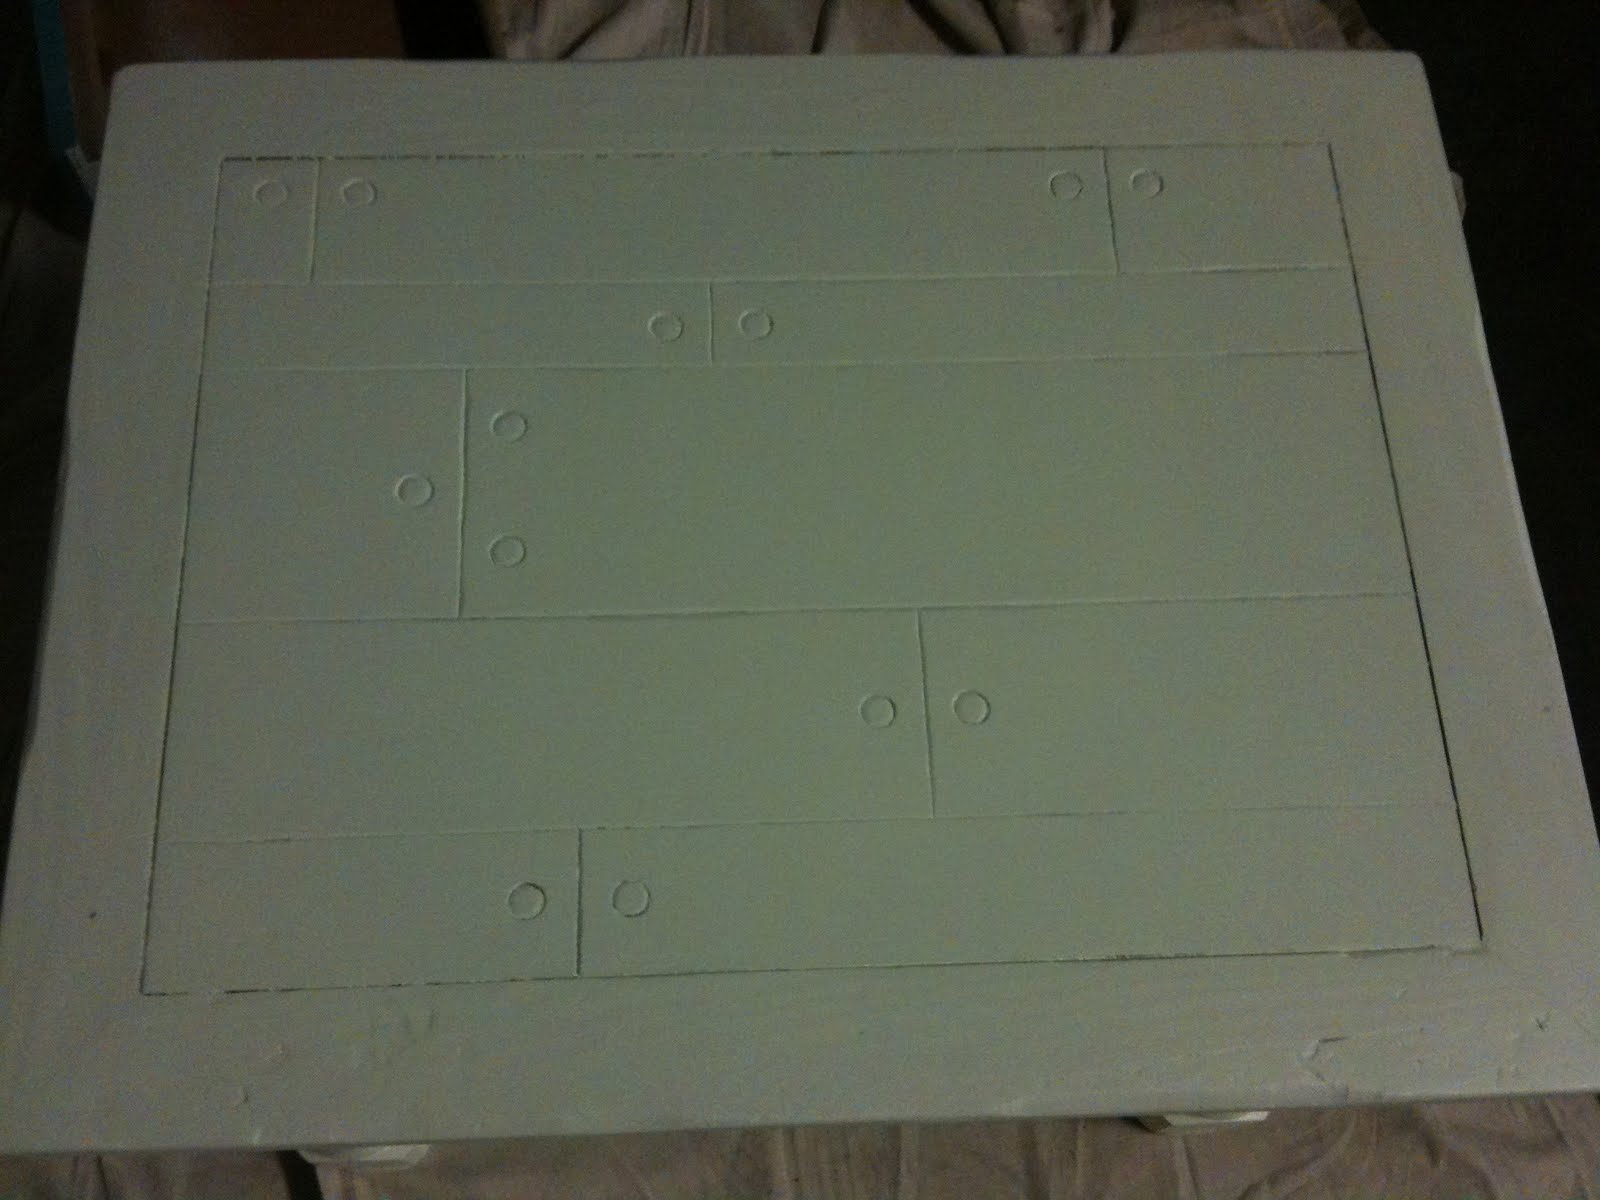
See the "nails" in the top?
I used my new power sander to strip off as much of the finish as possible. It took a long time, and wore through a LOT of sandpaper and still it wasn't completely stripped. Unfortunately I guess I forgot to take a picture post-sanding, but it's not actually that interesting. I couldn't use the power sander on the curved legs, so I just roughed it up by hand and didn't worry about removing the finish altogether.
Then I used wood filler to fill in some of the bigger gouges and divots. I wanted a distressed look though (and was not convinced I'd be able to get away with any other look) so I wasn't too meticulous with this step. Then I primed it and painted it with the same light seafoam as my first table. What can I say, I had a lot left over. Turns out one sample jar is more than enough for a project of this size.
After the two coats were dry, I painted the inlaid bits on the sides and drawer with a teal shade that looks great with the lighter green. I used painter's tape, and found that if I pressed it down really well on the edges, I didn't need to use the perfect paint line trick that's floating around the interwebs. It just required the slightest bit of touch up after I removed the tape and the paint dried.
You can already see the detail on the top better than before! When the paint was dry, I reattached the top. I had to use slightly larger screws than were there before to ensure a tight fit, but it definitely feels secure now.
Then I applied antiquing glaze very generously to create some contrast in the cracks and imperfections, and of course to bring out that faux nail/plank detail. After I made sure the glaze was in all the nooks and crannies, I used a damp rag to distribute it better and achieve a weathered effect. I definitely used a heavier hand with the glaze for this project than the last one. I then sanded down the corners and edges a bit, but in retrospect, I should have done this before glazing, because I had to touch up the glaze where the sanding sponge rubbed it off a bit.
Now look how clear those details are!I had planned to hammer in some decorative clavos (antique looking iron nail heads) but now that it's antiqued, I think I'll leave it as is. It'll save some money too!
Last thing I did was add some paste finishing wax and buff it to a satiny finish.
It's a pretty far cry from how it started out, isn't it? It's serving as my new TV stand, but it's not perfect there because the shape and size make it a bit awkward for a corner. I don't know where it will end up, but I'm pretty proud of it. I still have to line the drawer (which I kept the original hardware for) but I'm in no hurry.
And just for shits and giggles, let's see before and after next to each other:
Friday, July 8, 2011
Table Rehab
I've been working on a little project this week, and I'm proud to share it! I bought this little table at Goodwill for seven bucks or so. It was in pretty bad shape, but I revamped it and now I think it looks pretty great!
This is the before. It could be worse, but let's face it -- not much. There was almost no varnish on the top, but actually that's exactly how I wanted it. Less sanding.
I sanded it down and primed it with Kilz.
After the primer dried, I sanded it again and applied two coats of Olympic paint in Lime Meringue (B68-1) satin finish. It's a really light jade green. I bought two sample cans, but it only took about half of one for the whole table. I very lightly sanded the table again before the second coat of paint.
After the paint had thoroughly dried (I gave it 24 hours, which I thought might not be enough, but it was fine) I took the sanding sponges to the edges and distressed them. I made sure to not make the distressed patches too uniform and I considered where the paint would naturally get rubbed off over time.
Then I used Valspar antiquing glaze and rubbed it all over with a damp scrap of old t-shirt to give it more of a weathered, almost whitewashed appearance. It does look grungier doesn't it? Tastefully so, though.
Lastly, I painted on a layer of paste wax. I let it dry for about half an hour, then took a microfiber dust rag and buffed it. Before the buffing I was a little apprehensive. The finish was very matte and not particularly smooth, but after I buffed it, it gave it a very smooth finish with just a bit of sheen.
Looks nice for a first attempt, doesn't it? It's sitting next to the couch now. It's perfect as an end table. Now I just need to redo the rest of the room around it!
This is the before. It could be worse, but let's face it -- not much. There was almost no varnish on the top, but actually that's exactly how I wanted it. Less sanding.
I sanded it down and primed it with Kilz.
After the primer dried, I sanded it again and applied two coats of Olympic paint in Lime Meringue (B68-1) satin finish. It's a really light jade green. I bought two sample cans, but it only took about half of one for the whole table. I very lightly sanded the table again before the second coat of paint.
After the paint had thoroughly dried (I gave it 24 hours, which I thought might not be enough, but it was fine) I took the sanding sponges to the edges and distressed them. I made sure to not make the distressed patches too uniform and I considered where the paint would naturally get rubbed off over time.
Then I used Valspar antiquing glaze and rubbed it all over with a damp scrap of old t-shirt to give it more of a weathered, almost whitewashed appearance. It does look grungier doesn't it? Tastefully so, though.
Lastly, I painted on a layer of paste wax. I let it dry for about half an hour, then took a microfiber dust rag and buffed it. Before the buffing I was a little apprehensive. The finish was very matte and not particularly smooth, but after I buffed it, it gave it a very smooth finish with just a bit of sheen.
Looks nice for a first attempt, doesn't it? It's sitting next to the couch now. It's perfect as an end table. Now I just need to redo the rest of the room around it!
Labels:
distressed,
furniture,
green,
interior design,
table
Subscribe to:
Posts (Atom)


