Showing posts with label rehab. Show all posts

Friday, September 2, 2011

Curbside Shopping

So can someone tell me the difference between a dresser and a chest of drawers? Are they interchangeable?

Anyway, to the redo: I was doing some late night craigslist "free" section browsing a couple weeks ago and found an adorable solid wood dresser whose curves would be brought out beautifully with a little white paint and some distressing. It was posted at 10:35 PM and by the time my roommate and I drove out there an hour later (in our pajamas no less) it was already gone! Apparently I am not the only craigslist vulture in Seattle. Weird. So we were driving back home, disappointed, when I saw another dresser on the side of the road. I yelled "stop the car!" and we got out and looked at it. It was dated to be sure, but it was in really fantastic condition, with a slightly matte finish (perfect for minimal sanding), easy sliding drawers, and unique hardware. And it was on casters, which made it so much easier to move around!

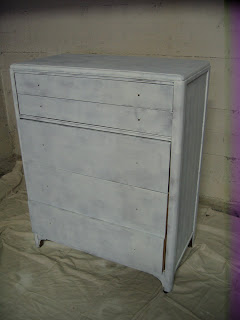
Regrettably, I forgot to take a before picture, so this is what it looked like after priming:


Ignore the horrendous photography. My seven-year-old point-and-shoot is clearly on "der fritz"
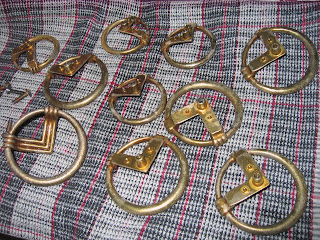
And here is the hardware post heavy-duty scrubbage:
Note to self: don't take pictures on a plaid background anymore. Even if it just a tea towel.
I work in the apartment building's garage, between my car and the recycling dumpster. One night I came home and found this sign:
Whoops
In my defense, I know that the recycling comes on Fridays and I always move my stuff out of the way in time.

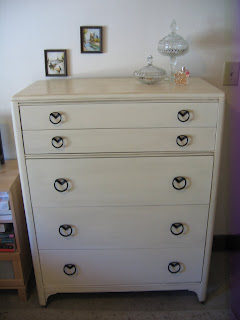
Anyway, so I painted it a creamy off-white and gave it a light glaze and a wax. Then I sprayed the hardware with Oil-Rubbed Bronze and now it looks like this:
Here it is sort of staged in my room. The little pictures are old painted postcards of Paris, and they're hung for my previous dresser which was significantly shorter

The top doesn't look this shiny in real life. I don't know why it's doing that, but I like it!

The hardware's nifty, isn't it?

I am keeping rings and stuff in the vintage candy dishes now, but I have an idea for them that I'll share when I get around to doing it.

Oh yeah, I didn't distress it, which felt a little weird, but it has such clean lines that I didn't think it would go as well, so I used my new bff Antiquing Glaze instead to bring out the details. 

So here we have it side by side:

Before-ish

After
Linking up to:
  Furniture Feature Fridays 


Wednesday, August 31, 2011

Antiquing Glaze


I have a new love: antiquing glaze. It is easy to use and instantly adds like 100 years of tasteful grime to any piece. I'll explain my methods and show you this (as yet unfinished) jewelry box. 

I used Valspar Antiquing Glaze which I applied straight from the bottle with a flat paintbrush to get it into all the crevices, then used a damp rag (okay, t-shirt sleeve) to wipe away the excess. I also made sure that I wiped with the wood grain to make it look more authentic. the glaze is workable for about 15 minutes, which is more than enough time to get it how you want it. Lastly, seal it with your finish of choice. I used Minwax Paste Finishing Wax. It is that simple!

A couple hints:
1. make sure your paint is dry before glazing (I'm starting with the obvious one here)
2. Start with more than you think you'll need and gradually keep wiping it away
3. A damper rag is better than drier


A bottle of the stuff will set you back a whopping 8 bucks, and even if you apply it generously, it will last a long time. I've done 2 end tables, a dresser, and a jewelry box with only about a quarter of the bottle.

I'll show more pictures of this box when I have knobs for the drawers and door, and I've relined the drawers. Stay tuned!

Thursday, July 21, 2011

Table Rehab Take 2


Here we have a $6.00 Goodwill monstrosity. It's in terrible shape and the top is completely detached from the rest of the table. Not to mention the completely dated finish. But I could tell that it had potential. It had some nice details which just needed a bit of TLC to bring out.


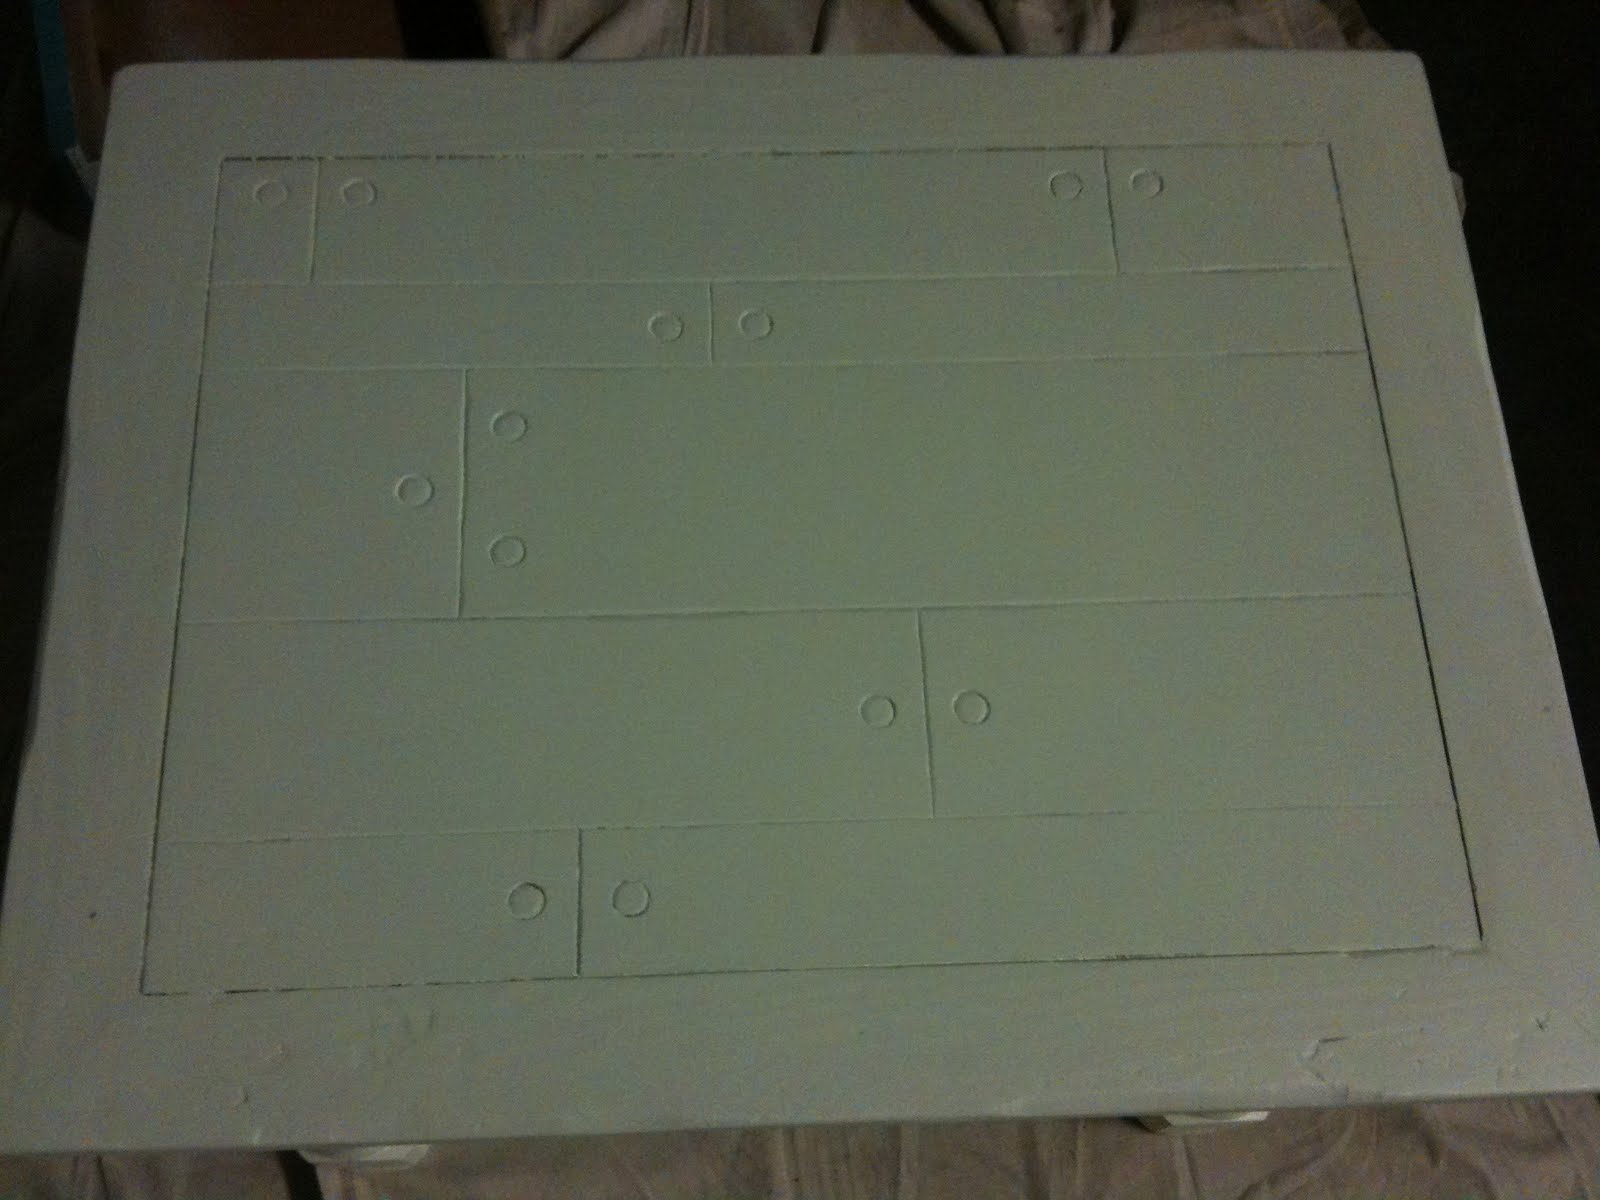
See the "nails" in the top?


 I used my new power sander to strip off as much of the finish as possible. It took a long time, and wore through a LOT of sandpaper and still it wasn't completely stripped. Unfortunately I guess I forgot to take a picture post-sanding, but it's not actually that interesting. I couldn't use the power sander on the curved legs, so I just roughed it up by hand and didn't worry about removing the finish altogether.

Then I used wood filler to fill in some of the bigger gouges and divots. I wanted a distressed look though (and was not convinced I'd be able to get away with any other look) so I wasn't too meticulous with this step. Then I primed it and painted it with the same light seafoam as my first table. What can I say, I had a lot left over. Turns out one sample jar is more than enough for a project of this size.


After the two coats were dry, I painted the inlaid bits on the sides and drawer with a teal shade that looks great with the lighter green. I used painter's tape, and found that if I pressed it down really well on the edges, I didn't need to use the perfect paint line trick that's floating around the interwebs. It just required the slightest bit of touch up after I removed the tape and the paint dried.


You can already see the detail on the top better than before! When the paint was dry, I reattached the top. I had to use slightly larger screws than were there before to ensure a tight fit, but it definitely feels secure now.


Then I applied antiquing glaze very generously to create some contrast in the cracks and imperfections, and of course to bring out that faux nail/plank detail. After I made sure the glaze was in all the nooks and crannies, I used a damp rag to distribute it better and achieve a weathered effect. I definitely used a heavier hand with the glaze for this project than the last one. I then sanded down the corners and edges a bit, but in retrospect, I should have done this before glazing, because I had to touch up the glaze where the sanding sponge rubbed it off a bit.

Now look how clear those details are!I had planned to hammer in some decorative clavos (antique looking iron nail heads) but now that it's antiqued, I think I'll leave it as is. It'll save some money too!

Last thing I did was add some paste finishing wax and buff it to a satiny finish.


It's a pretty far cry from how it started out, isn't it? It's serving as my new TV stand, but it's not perfect there because the shape and size make it a bit awkward for a corner. I don't know where it will end up, but I'm pretty proud of it. I still have to line the drawer (which I kept the original hardware for) but I'm in no hurry.

And just for shits and giggles, let's see before and after next to each other: